Getting Started: The Basics
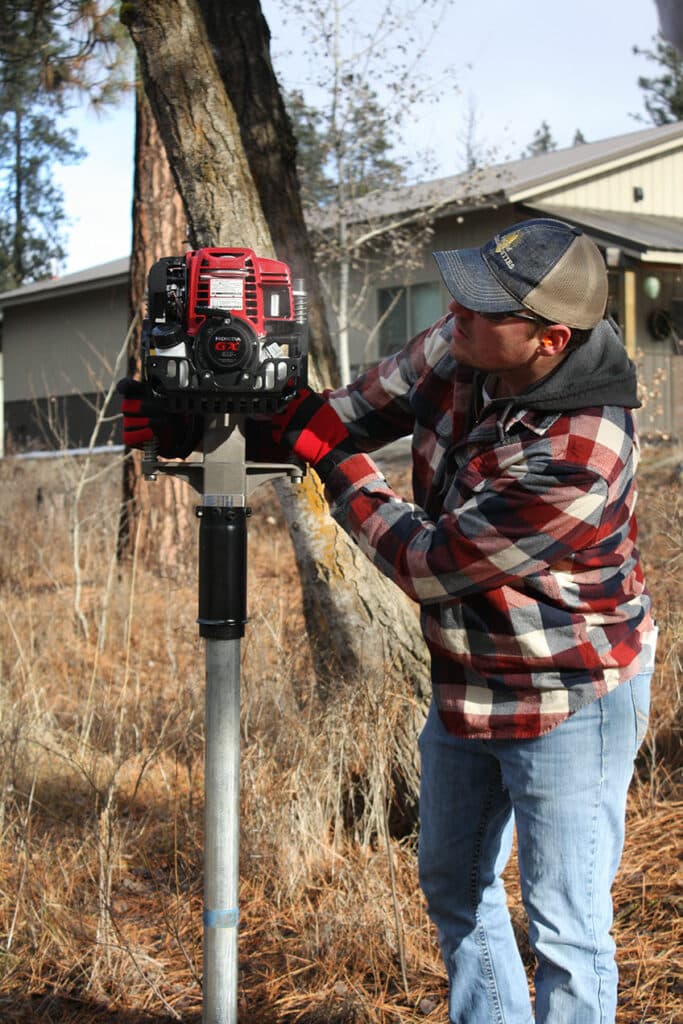
Setting Up: Before diving into your project, it’s essential to ensure that the RediDriver® is clean and free from any obstructions. Check the fuel level and ensure it’s filled with straight unleaded gas.
Safety First: Your safety is paramount. Always wear safety goggles, gloves, and ear protection when operating the RediDriver®. Additionally, ensure your working area is clear of bystanders, especially children.
Post Alignment: Position the post where you want it installed. Remember, the RediDriver® will drive it vertically down from where it starts, so getting the alignment right from the beginning is crucial.
Starting the Machine: Once you’re all set, turn on the RediDriver® and let it warm up for a few seconds. With a firm grip on the handles, position the driver on top of the post and begin the driving process.

Intermediate Techniques: Beyond the Basics
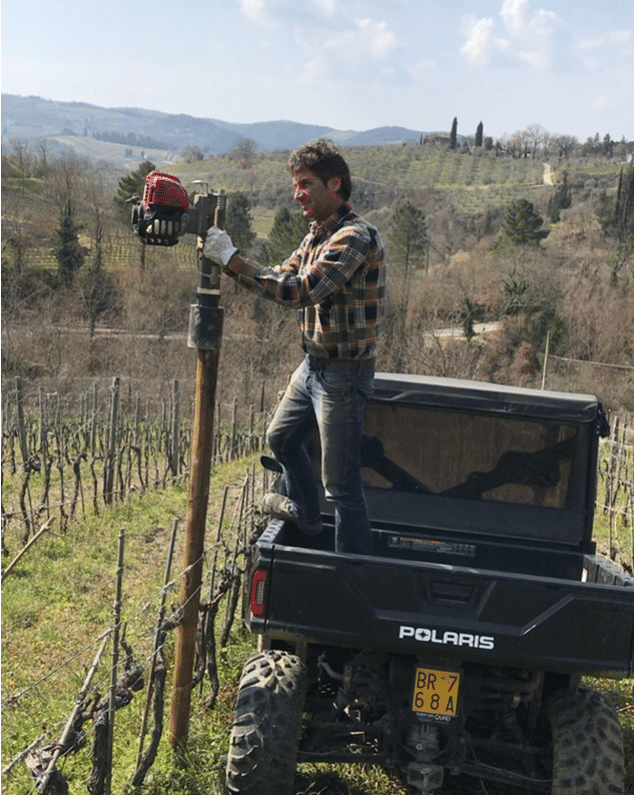
Driving Different Post Types: The RediDriver® is versatile, capable of handling wood, steel, or u-channel posts. Depending on the post’s diameter, adjust the guide tube or use reducer sleeves to ensure a snug fit.
Depth Consistency: For projects like fencing, consistent post depth is essential for a uniform look. A pro tip is to mark your desired depth on each post using a marker or tape. This ensures you achieve the same depth across all posts.
Angle Adjustments: While the RediDriver® is primarily designed for vertical installations, with a bit of practice, you can achieve slight angles for specific design requirements or unique projects.
Advanced Scenarios and Techniques
Erosion Control and Silt Fences: The RediDriver® isn’t just for fences. You can also use it to install posts for erosion control measures, making it an invaluable tool for environmental projects.
Dock Pilings and Tent Stakes: Planning a waterfront project or a large event? With the right adapter, the RediDriver® can be used for larger projects like dock pilings or even for securing large tents with deep stakes.
Sign and Guide Posts: Public safety is paramount. Use the RediDriver® to securely install sign and guide posts, ensuring they stand firm against environmental factors and everyday wear and tear.
Driving in Difficult Terrains: Some terrains can be challenging. For rocky or particularly hard terrains, consider pre-drilling. Once you’ve made a pilot hole, the RediDriver® can take over, ensuring the post is securely placed.
Maintenance and Troubleshooting
Regular Cleaning: To ensure the longevity and optimal performance of your RediDriver®, clean it after each use to remove dirt and debris.
Lubrication: The heart of the RediDriver® requires care. Use only EP 0 low viscosity grease for hammer lubrication. Regular lubrication not only ensures smooth operation but also significantly reduces wear and tear.
Troubleshooting: Machines can be temperamental. If the RediDriver® isn’t performing as expected, don’t fret. Consult the user manual or reach out to our dedicated customer service. Regular maintenance checks can preempt most common issues, ensuring your RediDriver® is always ready for action.

Unlocking the Full Potential of RediDriver®
With the right techniques, care, and understanding, the RediDriver® can be an invaluable tool for a myriad of projects. Whether you’re a professional or a DIY enthusiast, this guide aims to help you harness the full power and versatility of the RediDriver®. Happy driving!


